Portfolio Site v2.0
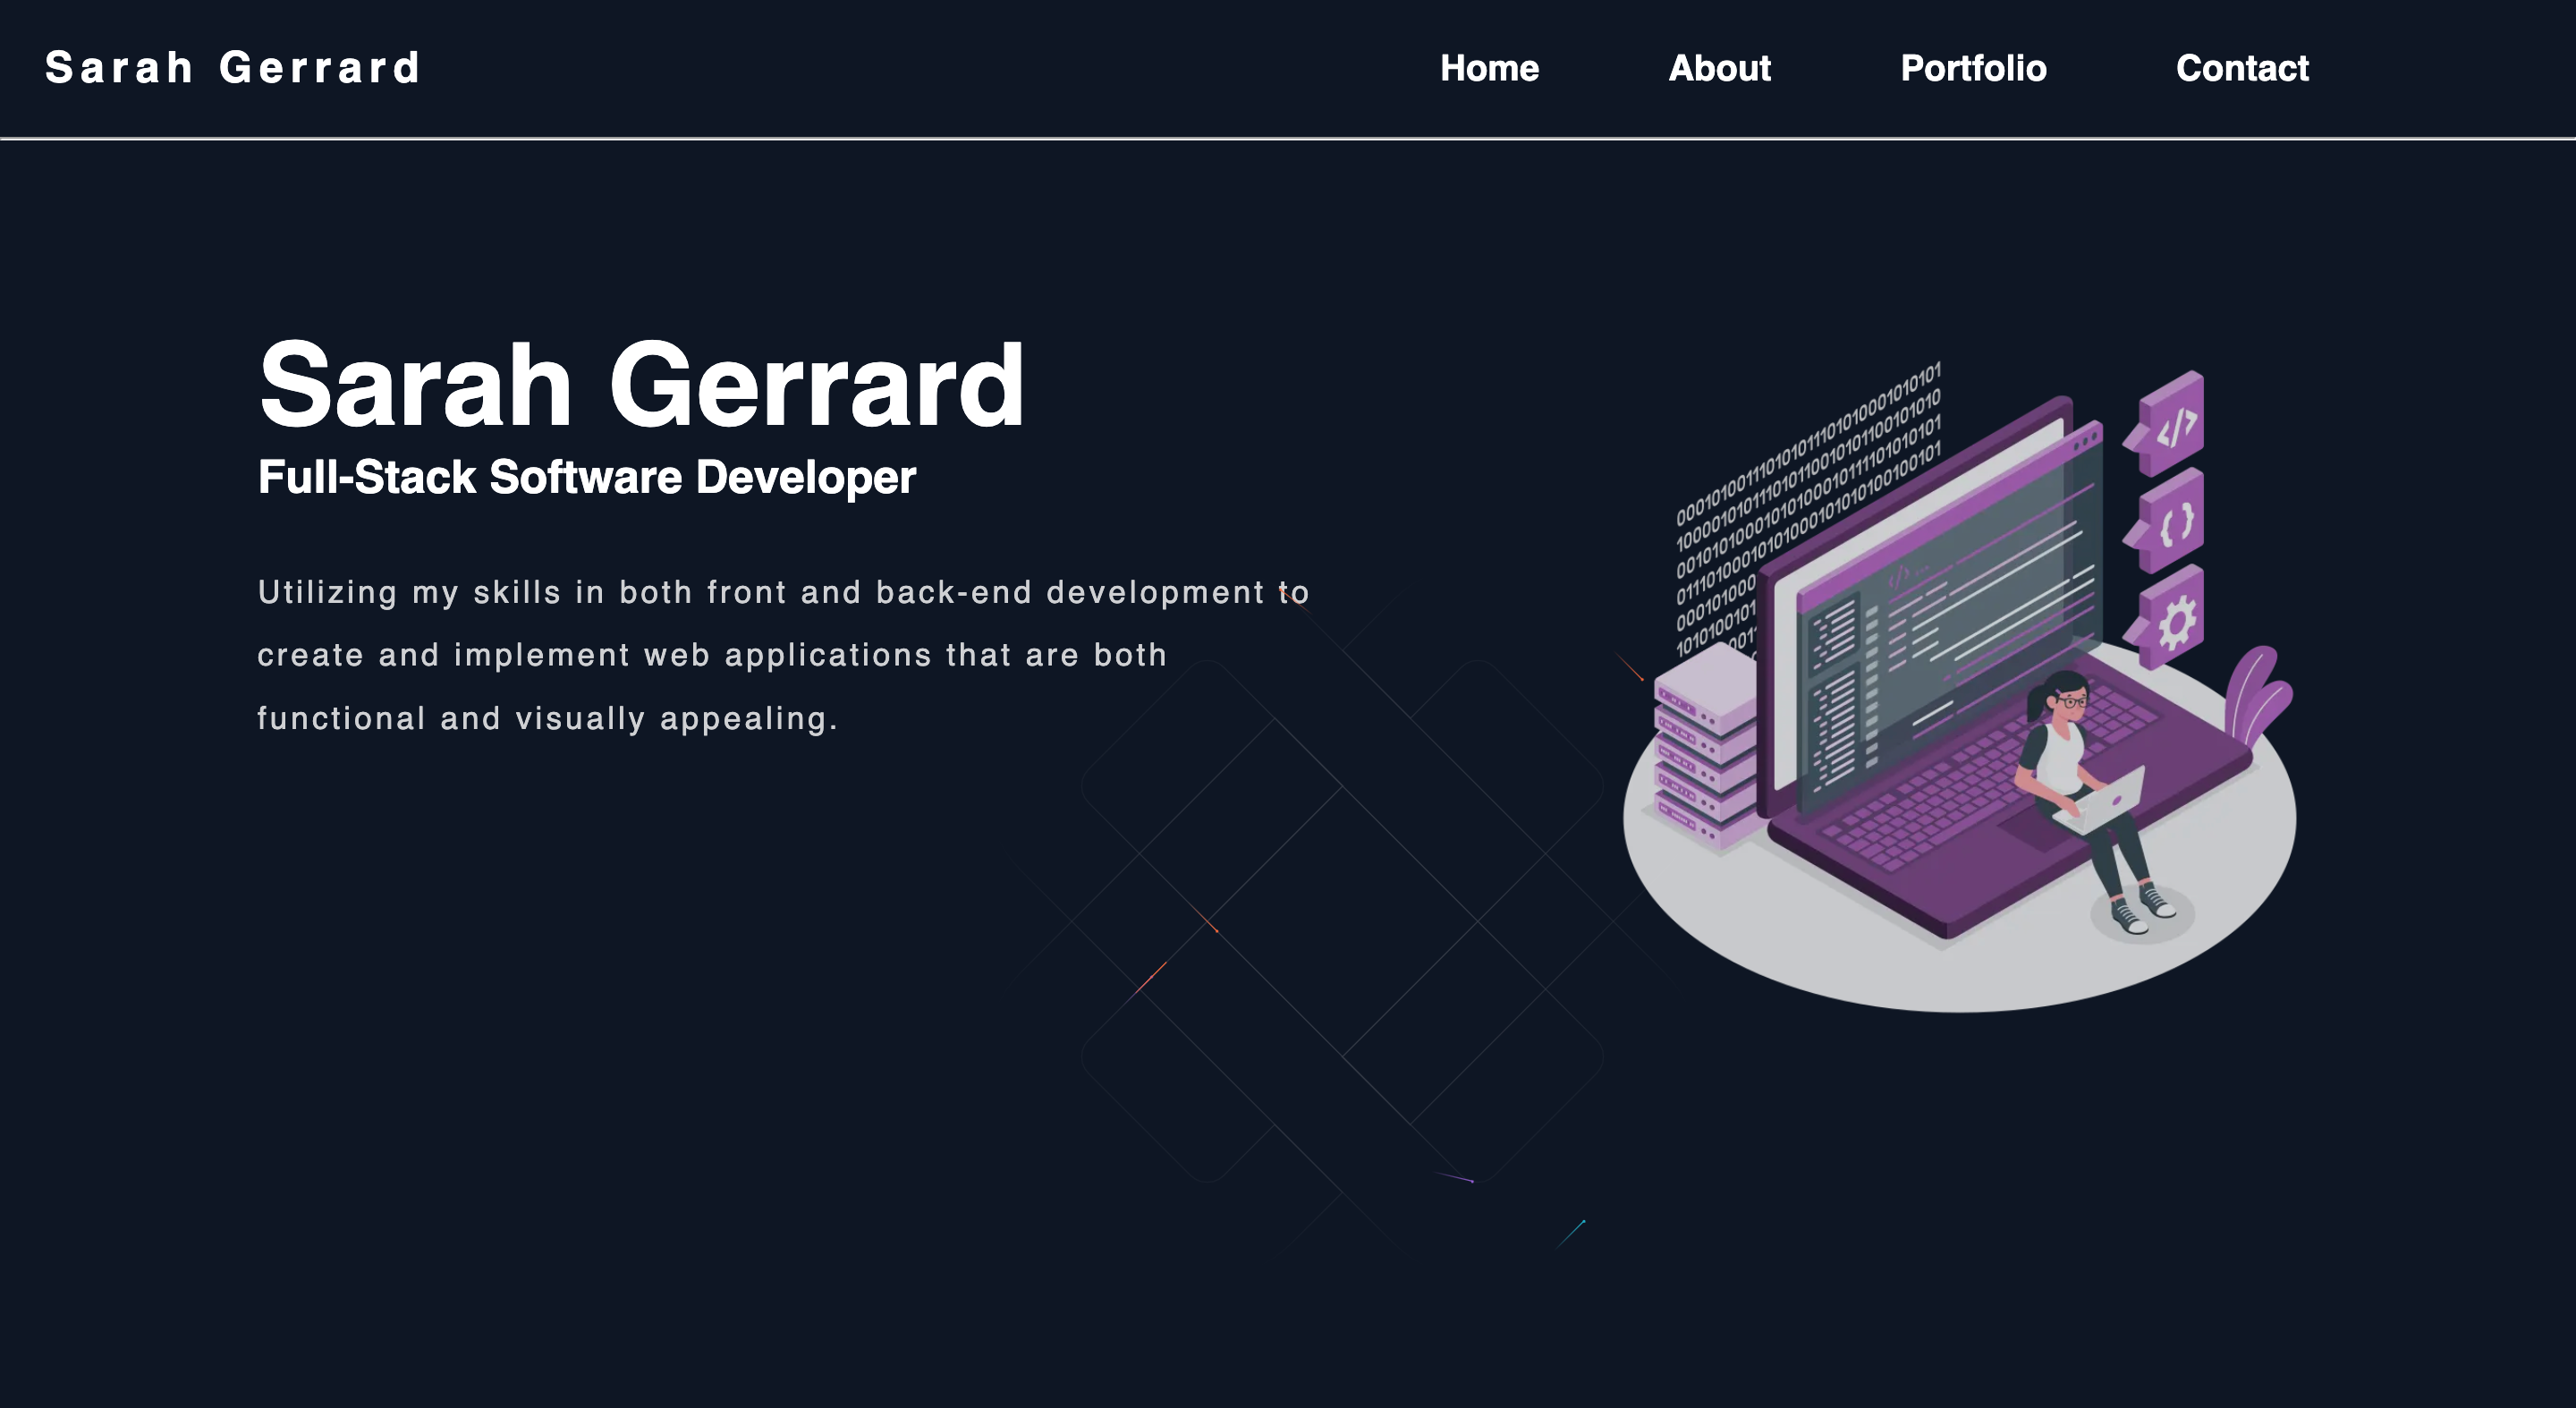
With the first rendition of my site, I had used a template to personalize from there. This site I was motivated to build it from scratch while using Next.js to help with routing and learn more about the framework.
I. Getting started
Prerequisites
In addition to an internet browser and IDE, he following must be installed on your machine:
Installation
How to install and run the application.
- Clone the repository from GitHub.
git clone https://github.com/LadyBluenotes/portfolio-2.0/- Install Node packages
npm install- Start the application
npm run devII. About
Built with
I developed this project using Next.js and used CSS for styling purposes. My main objective was to use it as a learning tool to gain a better understanding of Next.js and how it differed from React.
One aspect I particularly aimed to explore was the routing in Next.js. Additionally, I wanted to delve into their approach to handling styles. To keep my learning focused, I intentionally kept the project simple by using basic CSS for styling. I did include one additional library for incorporating motion effects, but by maintaining this simplicity, I aimed to enhance my understanding of Next.js without unnecessary complexities.
III. Motivation
During my journey of learning React, I frequently came across Next.js as a highly-discussed framework. As I embarked on this project, I was aware that Next.js provided routing capabilities, eliminating the need for an additional library like React Router in traditional React applications. I also knew that Next.js was built upon React, and I was eager to explore its similarities and differences.
To maintain clarity and avoid unnecessary complexities, I decided to keep this project focused on Next.js and CSS. Once I had established the foundational elements of the website, I wanted to include some dynamic motion effects. Because of this, I used the Framer Motion library into the project.
By keeping to a straightforward approach, I fostered a deeper understanding of Next.js while preserving a clear learning trajectory.
IV. Key takeaways
Discoveries and reflections
Next proved to be a valuable meta-framework to learn. It quickly became a favorite due to its ease of use and built-in features. Some of the discoveries I made when it came to this project was:
- File-based routing: Next's routing system made the process of setting up and implementing routing remarkably straightforward. The file-based system alleviated the challenges I had previously faced with complex routing setups, making for easy adoption.
- Simplifying Complex Logic: Next provides abstractions and built-in features that simplify complex tasks. Because of this, it reduced the need for me to handle some of these things from scratch.
Technical growth
Next Routing
I chose Next.js because of its built-in routing system, which made navigation within my application a breeze. I no longer needed to rely on external libraries like React Router to handle routing. Next.js allowed me to define routes simply by adding files to the pages directory. I was pleasantly surprised to learn that Next.js supports nested routes. By creating a folder with an index.js file inside the pages directory, I was able to easily create a nested route. This feature opened up new possibilities for creating more complex routing structures in my projects in the future.
Styling with Next
Unlike traditional React applications where CSS is typically linked globally, Next.js supports built-in CSS files. These are imported directly into individual components, allowing me to style each component separately. This approach, known as scoped styling, kept my styles contained within the respective components, leading to better modularity and separation of concerns. By embracing this method, I found it easier to manage and maintain my styles while avoiding conflicts with global CSS.
The Capabilities with Next.js
Next powerful capabilities that simplify various aspects of web development. One is the built-in Image component, which automatically optimizes imported images by handling resizing, lazy loading, and serving the appropriate format based on browser support. This feature not only significantly improved application performance but also simplified image management. Another is that it provides a Head component, showcasing easy additions of meta tags to pages. This allows optimization of applications for search engines, enhanced visibility, and provide relevant information for sharing.
V. Acknowledgements
Throughout the development of this project, I used the Next.js documentation to grasp the framework's concepts and implementation. To incorporate motion effects, I referred to the Framer Motion documentation, which provided valuable insights into leveraging the library effectively. Additionally, for the background animation, I took inspiration from another developer's work, adapting it to create a unique animation for my project (will update with link if/when I find the source).
VI. Additional Information
As this site is no longer my portfolio site, I have discontinued monitoring issues and features related to it. Furthermore, since it is no longer deployed to a domain, there is no accessible location to view it.